Published March 16, 2026 10:28AM
Pro Tips for Shooting the Night Sky (No Matter What Equipment You Have)
Capturing the Milky Way doesn't require thousands of dollars in gear. Here is my simple guide to using your smartphone—or camera—and the dark sky to take professional-quality photos.
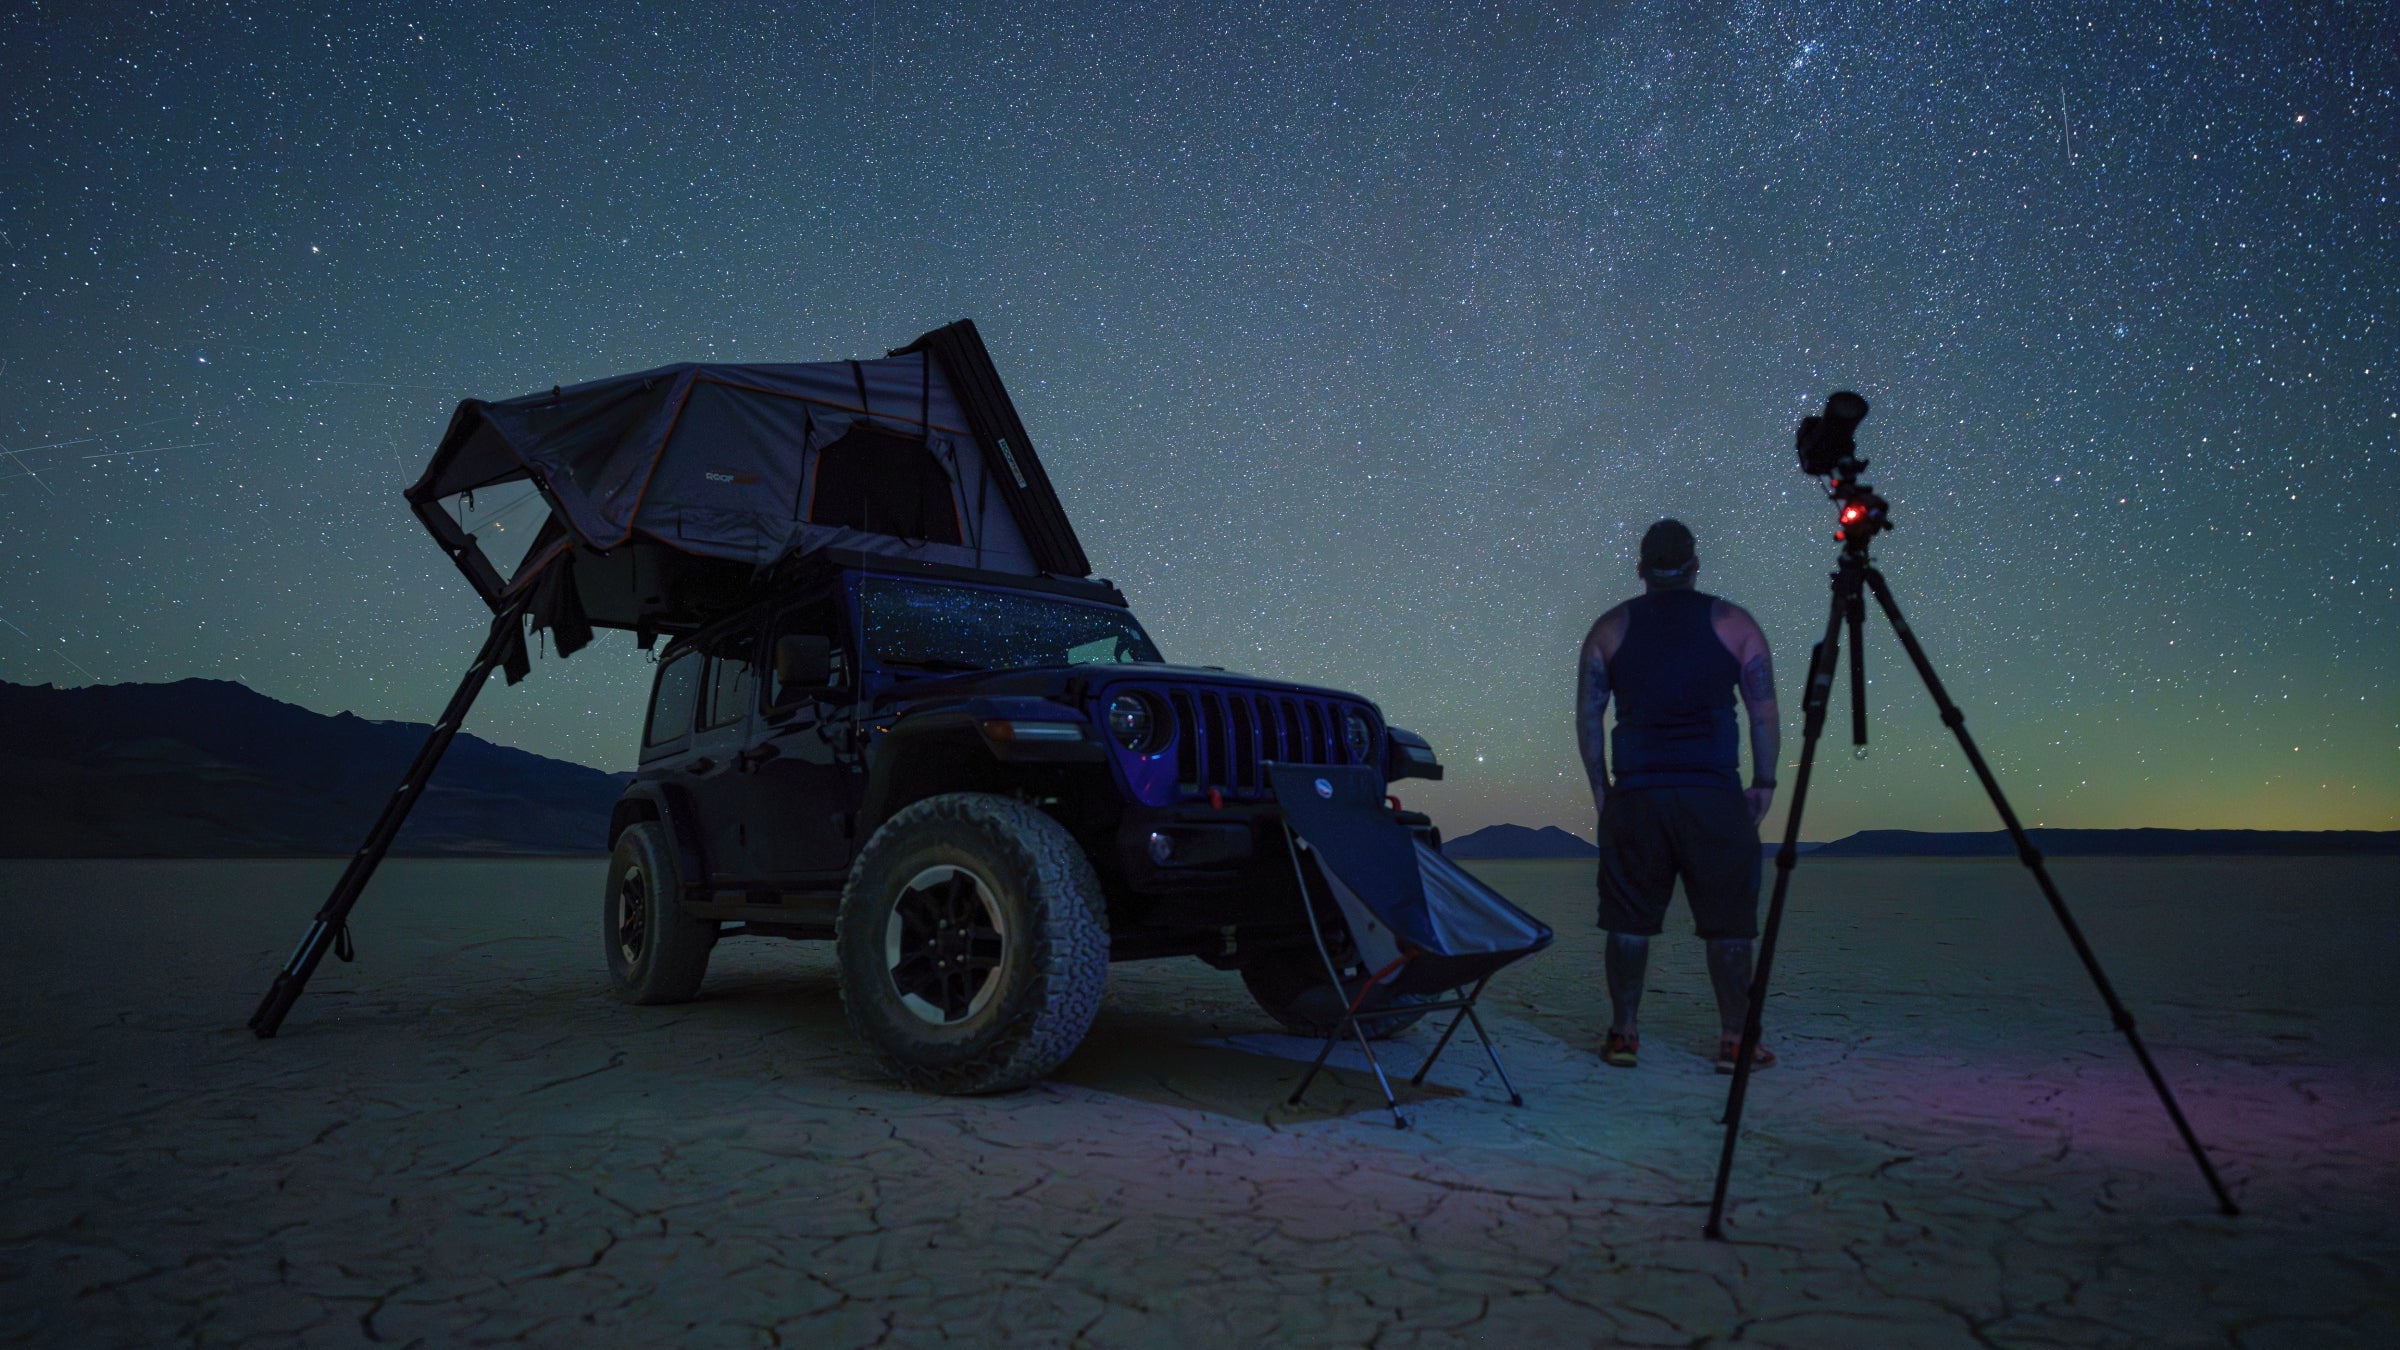
Alvord Desert, Oregon (Photo: Jay Clue)
As an astrophotographer, I structure my weeks around lunar phases, chasing stars and the country’s darkest stretches in my overlanding vehicle. My love of shooting the night sky borders on obsession, but you don’t need a litany of gear or experience to get started. One of the things I love about teaching photography workshops is seeing my students’ faces light up when they realize what they can capture after only learning the basics.
What Gear Do I Need?
You can photograph the stars with a tripod and almost any camera, but some basic equipment can definitely enhance the results. If you’re working with a traditional camera, a wide-angle lens with an aperture of f/2.8 or faster (that’s a smaller number) will let in plenty of light. If you’re using a smartphone, just enable long exposure or night mode to rock those shots. No tripod? Rest your camera on a rock, a table, or any stable surface to keep it steady while you take pictures.
Finding Dark Skies
To get the most breathtaking views of the stars, it’s best to choose a spot far from city lights. DarkSky.org has an amazing list of certified Dark Sky Places worldwide, including over 40 parks in the U.S. National Park System. You can also explore light pollution maps like NASA’s which you can find in apps like Gaia GPS to discover the darkest skies nearby.
Plan Your Shots
For the best chance to capture the Milky Way and make the most of those twinkling stars, schedule your photo sessions around the new moon. You can extend your window from the last quarter through the new moon and into the first quarter to take advantage of more opportunities. But remember to check moonrise and moonset times to ensure you’re shooting under the darkest conditions. Using apps like Photopills can make this planning process easier, even showing you exactly where the Milky Way will appear in the sky while providing lots of useful information for your night sky adventures.
ADVERTISEMENT
Set Up Your Camera
First, focus on the stars so they appear as tiny, sharp points of light rather than round, blurry blobs. Remember to turn on your camera’s self-timer, so it gives the camera a couple of seconds to stabilize after you press the shutter. If you’re using a traditional digital camera, try a fast aperture (f/2.8 or lower), a shutter speed of 10 to 20 seconds, and an ISO between 3200 and 6400. These settings will give you a great starting point to capture those beautiful stars and the Milky Way.
If you’re using a smartphone, just switch to long exposure or night mode, and it’ll handle the rest for you. If you want to dial it in more, there are apps that will let you manually adjust the settings just like a traditional camera. Once you’ve got your settings and focus ready, take a test shot, then fine-tune from there. Keep tweaking, testing, and adjusting until you’re happy with your shot.
This article is from the Spring 2026 issue of Outside magazine. To receive the print magazine, become an Outside+ member here.